We have all been there. You have been performing PCRs perfectly for weeks/months on end but now, for some bizarre reason, you see … nothing. No bands showed up on your agarose gel. Why? Well, unfortunately, there are a few reasons why this may be. The aim is to uncover the reasons why quickly, or else PCR troubleshooting can go on for quite a bit of time.
Below is a list of reasons why your trusty PCR reaction may not work along with suggestions for a solution.
1. You forgot to add something
This is a common mistake to make and can be easily done if distractions are around you. Forgetting just one component of the PCR reaction, whether that be the DNA polymerase, primers or even the template DNA, will result in a failed reaction.
Solution: Repeat the reaction
The simplest solution is to repeat the reaction. Take your time to ensure everything has been added. If there is still no PCR product after this then chances are there is something else hindering your reaction. Read on …
2. The wrong PCR conditions used
You will be surprised how common this problem is and how easy it is to make. You may have incorrectly programmed in the wrong cycle conditions recommended for your PCR reaction. Sometimes if multiple users are using the same PCR machine, it is possible someone has saved their program onto your save.
Solution: Double check the settings on your PCR machine and the manufacturer’s recommended protocol
Always double check the cycle conditions of the program you are using every time you run the PCR reaction, even if you use the same program all of the time.
Additionally, if you are just starting out, always apply the temperatures and times from the PCR reagent manufacturer’s recommendations.
3. PCR machine thermal block no longer working
This is obviously highly unlikely to occur. However, if the thermal block (the inner tube holder which generates the heat) on your PCR machine is faulty then your reaction will not perform.
Solution: Test the thermal block
Most PCR machines will have an incubation function. Trying running an incubation at 60oC to see if the thermal block heats up. If it doesn’t, contact your technical support officers.
4. Too high annealing temperature used
For your primers to successfully bind to your template DNA they require an optimum annealing temperature during the annealing phase of the PCR reaction. Using too high of an annealing temperature will prevent your primers from binding to the complementary DNA.
Solution: Lower the annealing temperature or perform a gradient PCR
Try reducing your annealing temperature by a few degrees and repeat the PCR. If the problem is due to a high annealing temperature, then you should start to see something.
Or, even better, if your PCR machine has a gradient functionality then perform a gradient PCR to test a variety of annealing temperatures at once. You can then compare and pick the temperature which gives you the brightest desired band.
5. Primers have degraded
Depending on the primer sequence and length, certain primer sets are vulnerable to the effects of frequent freeze-thawing. Over time, especially when working from the same working aliquot, your primers may degrade and become useless. Inappropriate storage of primers, such as at room temperature, may also affect their integrity.
Solution: Aliquot your working primer solutions
Always aliquot your working primer solutions, or make more up fresh from the stock solution. Make sure these are stored at -20oC.
6. Template DNA has degraded
The storage conditions of your template DNA, especially cDNA which is less stable than genomic DNA because it is single-stranded, can also result in template degradation. If there is no template DNA for your primers to bind to, then don’t expect to see a band.
Solution: Aliquot your template DNA or run some on an agarose gel
If using cDNA as your template, make sure you aliquot your samples and keep them stored at -20oC or -80oC. If using genomic DNA as your template, run some on an agarose gel to visualise if it is degraded. If you see a smear, then the sample is sheared and is unsuitable as a template for PCR.
7. Template DNA contains PCR inhibitors
There are certain things which can inhibit the PCR reaction, such as ethanol and EDTA. Ethanol can be carried over from the DNA extraction process, for example. Putting these into a PCR reaction could hinder the process.
Solution: Dilute your template PCR
If you are unable to re-extract the template, try diluting the template DNA. This will reduce the amount of PCR inhibitor in the reaction. Or, if this is suspected, an even better solution is to re-extract the sample to ensure that no inhibitors are present after the extraction process.
8. DNA polymerase enzyme not working
The DNA polymerase enzyme is responsible for the extension of the bound primers along the template DNA strands. If this enzyme is no longer as efficient, maybe due to freeze-thawing, then the extension step during the PCR reaction will be incomplete, giving you no PCR product.
Solution: Use fresh DNA polymerase
Use a fresh aliquot of DNA polymerase in the PCR reaction. Make sure it is completely thawed before use and always plate up the reactions on ice.
9. Contamination with nuclease enzymes
DNase and RNase enzymes are the enemy. These are enzymes which break down DNA and RNA respectively. Sources of these contaminants include dust on dirty benches or skin. If these creep into your reagents then they could destroy your template before the reaction has even started.
Solution: Have a Spring clean
Use fresh PCR reagents and re-dilute primers using fresh nuclease-free water. Always clean your bench thoroughly with 70% ethanol and, if possible, RNase Zap. Use filter pipette tips to limit contaminants via pipettes. Also, try to prepare PCR reactions in a clean fume hood.
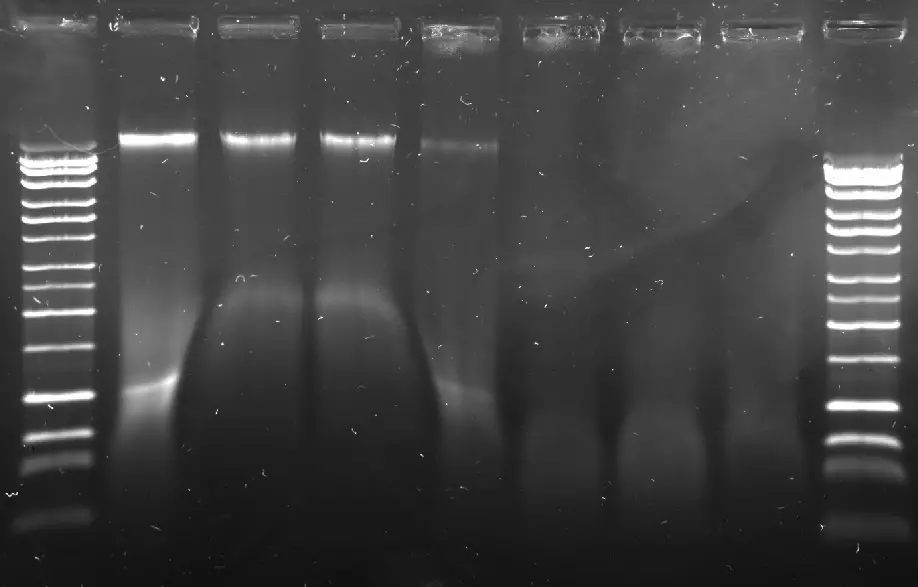
10. Agarose gel does not contain any dye
If you are basing the success of the reaction on the results of an agarose gel and you cannot see anything then you may have forgotten to add the intercalating dye to your gel.
Solution: Remake the agarose gel with the dye included
Obviously, remake the agarose gel with the dye included and run the samples again. Always add the dye before pouring the gel into the moulds. Also, always add a DNA ladder in at least one lane of the gel. This will act as a positive control for this problem.
11. PCR primers are not suitable
Sometimes PCR primer design does not go to plan. On paper, the primers should work, however, when it comes to the real world these predictions do not always come to fruition. It could be that the PCR primers that were designed are just not good enough.
Solution: Re-design the PCR primers
Don’t spend too long troubleshooting the PCR reaction, as this will waste precious time and money. Instead, cut your losses and re-design the primers. Even better, re-design a few PCR pairs and order them at the same time. Primers are so cheap to buy that I usually order quite a few for the same target. So, when they arrive I can test a few different versions at the same time, chances are one of them will work. Check out our guide to designing real-time PCR primers using NCBI’s Primer-Blast.
If you are still struggling to re-design PCR primers, try and find primer sequences for your target from a published paper. Most include the primer sequences somewhere.
Do you have any suggestions to add to the list? Leave a comment below to share your experiences along with a suitable solution.


how can i find primer sequence from publication?
i tried alot but i did’t find any such publication.. i’m facing double pcr band
Hello,
Usually, these are found in the methods section or the supplementary material. If not, you can always contact the authors of the paper directly to ask for them. There should be an email address for the corresponding author on each paper.
Thanks,
Steven
hi steven ,
would you please recommend a web tool that can design the divergent primer for detecting the circular RNA ?